
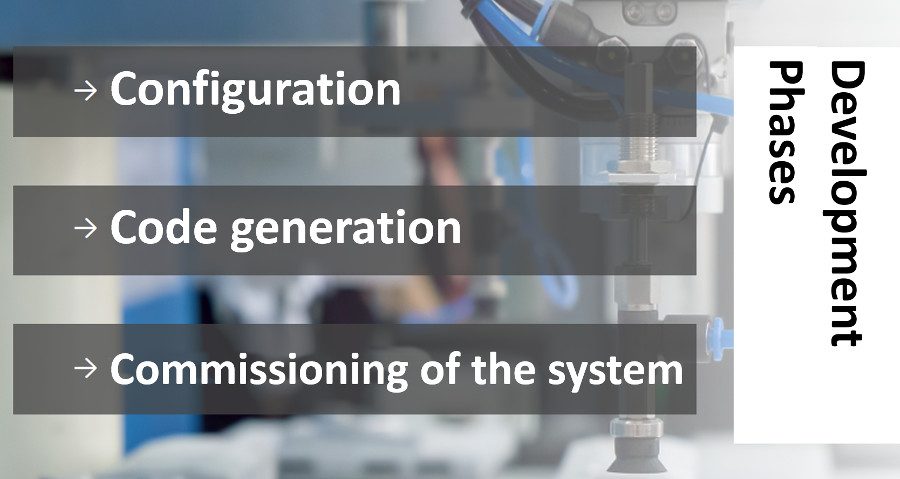
The CODESYS – Engineering Tool integrates several functions. In this way, we as users are supported in all development phases.
Configuration → Code Generation → Debugging (or commissioning of the system)
Project tree
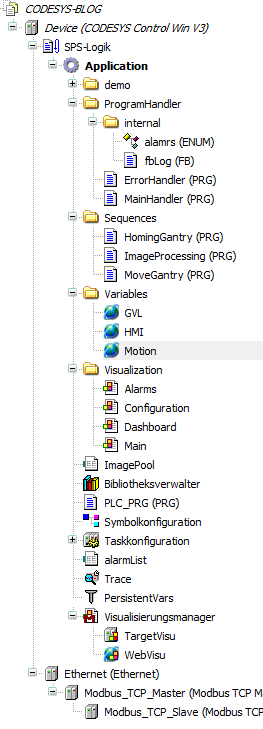
To find your way in CODESYS, we first want to look at the project tree. It is the central point of all functions and serves to structure the entire CODESYS project. The tree essentially consists of two categories. On the one hand from the editors. You need these to create application code. On the other hand there are the configurators. This is more likely to configure the target system-dependent parameters.
In direct comparison to CoDeSys V2.3 I find the work with the project tree very comfortable. Every user or team can implement a very personal structure. For example, you have the possibility to store individual objects in folder structures (like in Windows Explorer). You can copy individual elements or move them by drag & drop. Even between two projects, which is a great feature compared to the previous version. Recently several projects can be displayed together in one tree/project. This makes sense especially if you have several controllers for a common installation. Since the entire application is displayed within the tree, the annoying change between the individual tabs as in CoDeSys V2.3 is no longer necessary.
But I noticed, that with larger projects the clarity without a meaningful structuring quickly reaches its limits. For this reason I used the same logical structure in the project tree for all projects I created.
Structure
To get started, I have created the following folders (simplified representation):
- Step chains: here all step chains that are responsible for the logical sequence come in.
- Variables. In my projects I try to store them in the corresponding programs. In some cases, it does make sense to store the variables globally. In this case, the variable lists are listed under Variables.
- Visualizations: In CODESYS you can create and operate visualizations directly in the development system. By default they are placed in this folder. I will write more about the visualizations later. Just in advance, as information: The editor offers the possibility to create complex visualization masks and to link them with your variables.
- ProgrammHandler: For the administration of the step chains/single subprograms you can use e.g. the OMAC model. So you can separate the basic control of your system from the actual application logic and use your program for a variety of systems. You then only have to make minimal adjustments to the system (operating modes, safety modules) and can reuse your basic framework. This will save you a lot of time and money. Our team has shown that the use of such a framework has resulted in considerable time savings. The support is also much easier due to the same structure.
If you are starting CODESYS for the first time, you will probably soon ask yourself the question: “What should these POUs at the bottom of the tree do? – And why do I have a second project tree underneath? – Where is the best place to implement my programs now?”
Very simple! Under Devices you simply pack everything that has to do with your PLC and is necessary for this control. POUs, on the other hand, contain all code elements that are universally valid. In other words, all components that can be reused should be inserted under POUs. This also has the advantage that a function block, which is under POUs, can be used by all devices within this project.
Editors
The so-called editors provide support during application development. Each user can choose between the various graphic or textual languages as desired. As already mentioned in the article on the supported languages according to IEC61131-3, each language has its own special features and its own suitable application. The editors offer different input options depending on the selected language. With FBD, for example, you can select the elements you need from a “block catalog”.

Configurators
In the configurators, CODESYS offers device-specific settings for the different devices or fieldbuses. Here the dialog looks fundamentally different depending on the fieldbus used. For example, with CANopen you have nodeIDs and baud rate. With Modbus, on the other hand, it is the IP addresses to configure.
The screenshot shows the configuration of a Modbus device. A great thing is that the used components can be parameterized directly in the development environment. For example, when configuring an IO-Link device, you don’t need any external software, you can do this comfortably in your project (if your target system supports the fieldbus).

Target sytem (CODESYS Control Win V3)
In the screenshot you can see that I have selected a CODESYS Control Win V3 as PLC.
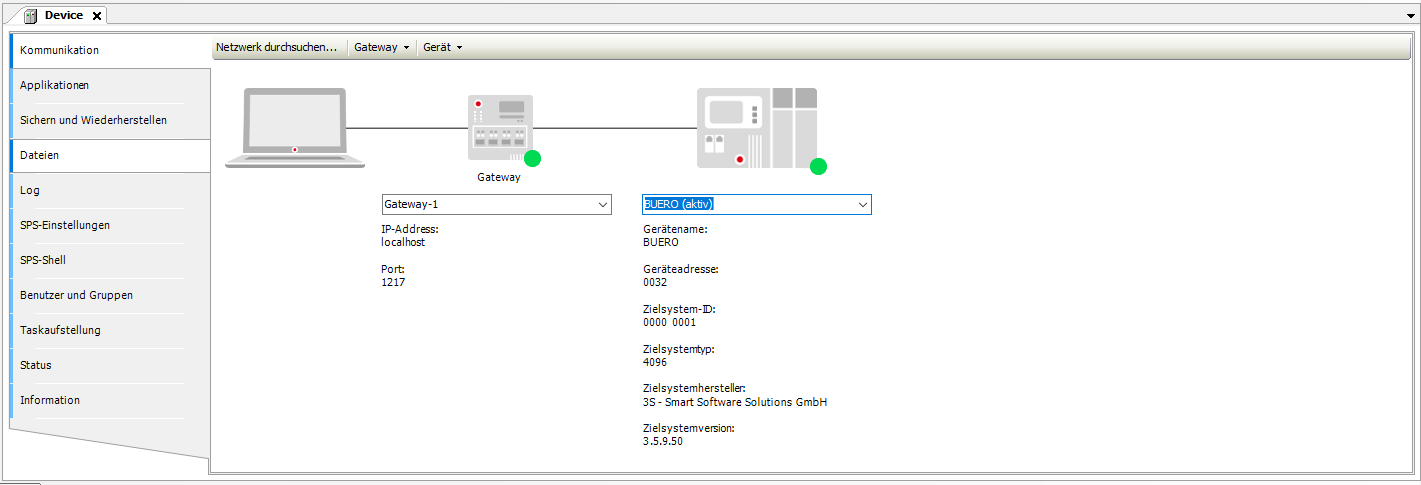
You can choose this Soft-PLC from 3S as a free demo target system when installing CODEYS. However, you must note that no “hard” real-time behavior is possible. If you don’t mind this, you can use the Soft-PLC to create a powerful PLC based on any industrial PC. However, the demo target system only runs for 2h and then has to be restarted. For practice this is completely sufficient. Are you thinking of buying the Win V3? You can do this via the CODESYS Store. Enclosed the link: CODESYS Control Win SL
So far I only mentioned the CODESYS Store to download the development system. But there are a lot of interesting examples in the store. So definitely have a look at it. It’s worth it.
Finally, I would like to point out that you also have an integrated simulator available in the CODESYS development system in addition to the soft PLC. You can use this if you want to test simple code elements. CODESYS also offers the possibility for debugging. We will go into this in more detail in another article. If you know how to use the debugger, you already belong to the experienced users.
Leave a Reply